Table des matières
The sponge cake
Sponge cake can be a scary preparation: who hasn’t ended up with a dense, slightly flat cookie, or one that sank after baking? It’s ultra frustrating, and that’s why I’m going to share all my tips to make sure it never happens to you again (and especially not on the CAP pâtissier exam if you pass!).
Génoise in a bain-marie or in a food processor?
It’s a question that divides the pros. It’s been proven that making sponge cake in a bain-marie doesn’t help it rise better or make it fluffier. However, some old-school teachers swear by tradition. At CAP, I recommend using the bain-marie technique (to do this, beat the eggs and sugar in a mixing bowl until the mixture has risen to 40°. Then whip the mixture in a food processor until completely cool.) But today, I’m going to explain the housewife technique to you, and I’d advise you not to worry if you’re at home!
Preparing the sponge cake
The first step is to mix the eggs with the sugar in the bowl of a mixer. Using the whisk attachment, turn the food processor up to full speed and wait! The mixture will start to foam, and after about 20 minutes, it will have tripled in volume. Then the first stage is complete.

Adding the flour
This is the trickiest part of the recipe. Once the eggs and sugar are homogeneous and airy, add the flour. Start by sifting it to make it as light as possible. Then, using a wooden spatula, gently scrape the bottom of the bowl. Lift the mixture and let it rest gently until it is homogeneous. The mixture should be frothy and full of air bubbles.

Plating vs. molding the sponge cake
There are 2 techniques for baking a sponge cake. In a “molding” mold or poached on a “veneering” plate. The advantage of molding: everything goes into the oven at once, but the cookie has to be sliced thickly after baking. The advantage of plating is that it’s very thin right out of the oven, so there’s no need to slice. But not all the ingredients fit into a domestic oven at once. You therefore run the risk of the last cookie disc falling off before it’s cooked. In fact, I was very inspired by Rose & Cook’s article on the subject. Conclusion: at home, I mold; in the lab, I plate!
It’s up to you to decide what you want and what equipment you have at home. In any case, you’ll need to pipe the mixture into a piping bag. You’ll then have the choice of placing the cookie on a sulfur sheet with a template, or molding it (in an entremet circle).

A little tip: I use a template or entremet ring 2 cm smaller than the size of the cake. That way, there’s no need to cut after cooking.
Baking the cookie
The sponge cake can be baked for 20 minutes at 180°C. To ensure that it doesn’t fall apart after baking, it must be very firm when you take it out of the oven: when you press it with your finger, it should resist well. If in doubt, extend the baking time: there’s nothing more frustrating than a beautifully puffed sponge cake that falls apart after baking!

Cutting the sponge cake
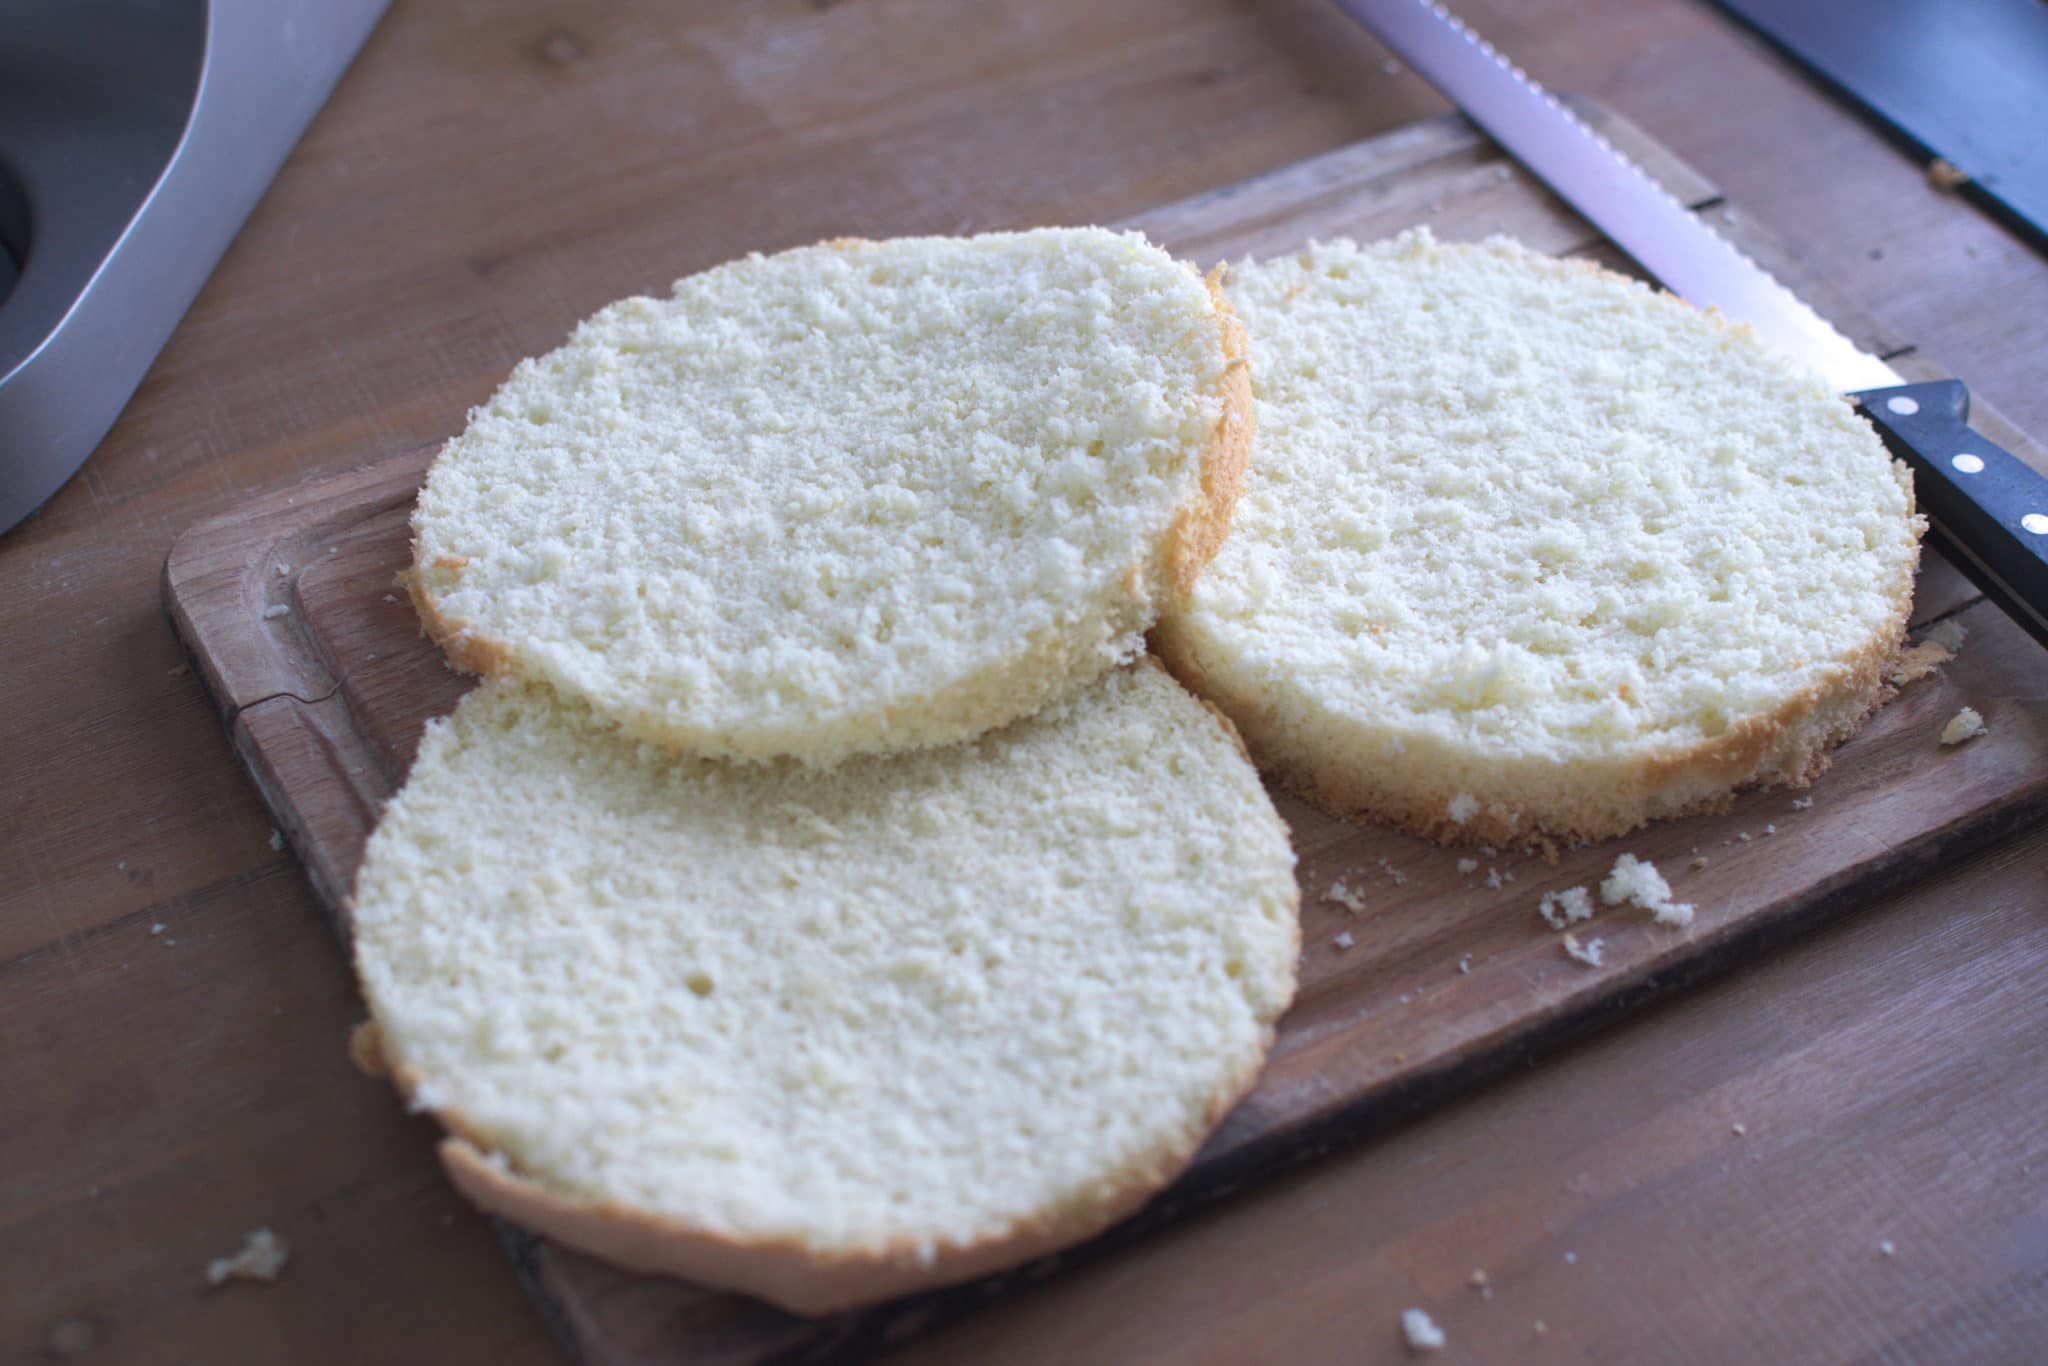
If you’ve made your sponge cake for an entremet, you’ll need to cut it. The best way to do this is with a sponge knife: a very long knife with rounded teeth that cuts very well! To cut even discs, keep the knife still and rotate the cookie. Don’t hesitate to cut your sponge cake into 3, or 4 if it’s really puffed up. Otherwise, it’s complicated in terms of height so as not to exceed 4.5 cm in a entremet!

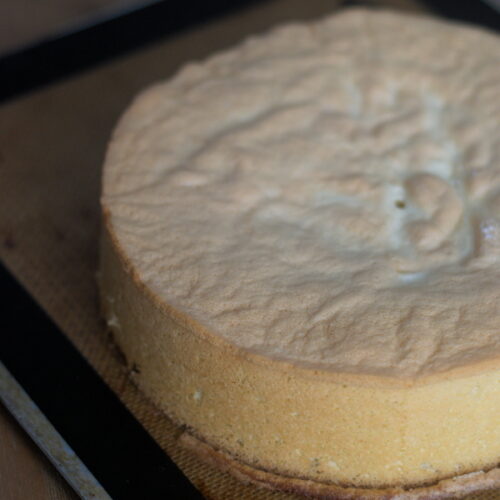
Génoise
Équipement
- Un cul de poule
- Un robot pâtissier ou un batteur électrique
- Une spatule en bois
- Un cercle de 22 cm de diamètre
- Tamis
Ingredients
- 4 Oeufs
- 125 g de sucre
- 125 g de farine
Instructions
- Mettre les oeufs et le sucre dans la cuve du robot et fouetter rapidement jusqu'à ce que le mélange blanchisse et triple de volume.4 Oeufs, 125 g de sucre

- Tamiser la farine.125 g de farine
- L'ajouter en 3 fois au mélange sucre/oeufs et mélanger délicatement avec une spatule en bois.
- Plaquer ou mouler la génoise dans un moule à génoise.

- Cuire 20 minutes à 180°C. Vérifiez la cuisson : la génoise doit être ferme au toucher. Laissez refroidir avant de démouler ou de décoller du papier.

